

Section 609 letters are widely misunderstood. Learn what the law really allows, when disputes succeed, and how to challenge inaccurate credit reporting the r...
I’ve been the person who avoided unknown numbers because I knew it was another collector. I’ve also been the loan officer who had to tell a good, hardworking family “not yet” because a report had something on it that did not belong. So if you’re staring at your credit reports and you feel that heat in your chest, take a breath. A rough credit report is often a paperwork, reporting, or identity problem, and those can be fixed. And yes, sometimes the negative items are accurate. The goal here is simple: correct what’s wrong, and stop wasting energy fighting what the bureaus are not built to negotiate.
This guide walks you through a clean, bureau-by-bureau dispute process for Experian, Equifax, and TransUnion. We’re going to keep it practical, documented, and focused on correcting inaccurate information.

What to dispute
Disputes work best when you’re correcting facts, not arguing feelings. The bureaus are built to verify data fields, not negotiate fairness.
Good candidates
- Accounts that aren’t yours (mixed files, identity theft, similar names)
- Wrong dates (date opened, date of first delinquency, last payment date)
- Incorrect status (paid account reporting as unpaid, charged-off balance still showing after settlement)
- Wrong balance or credit limit (especially on revolving accounts)
- Duplicate collections (the same debt reported more than once, including double-reporting during collector transfers)
- Collections that should not be there (a collection that was already deleted, or a medical bill that was processed incorrectly)
- Inaccurate late payments (you have proof the payment posted on time or the account was in a documented deferment or forbearance period)
- Incorrect personal information (wrong name variation tied to someone else’s file, wrong address that keeps connecting you to another consumer)
Usually not worth it
- Accurate negatives you simply wish weren’t there (late payments that truly happened)
- “This debt is unfair” arguments without documentation
- Complaints about interest rates or fees that were in the agreement
If the information is accurate but you need relief, you’re often better served with goodwill requests, a repayment plan strategy, or negotiating a deletion directly with the collector where it’s possible. A quick clarification: the credit bureaus do not control pay-for-delete deals. That is strictly between you and the furnisher or collector, and some companies refuse on policy.
Step 1: Pull all three reports
You need all three because creditors and collectors do not always report the same way to each bureau. An error can appear on one report and be absent on the other two.
- Pull your reports from a source that shows the exact tradeline fields. The cleanest options are the bureau websites and AnnualCreditReport.com (the official site for free credit reports; availability and frequency can change).
- Be cautious with third-party sites that bundle “free scores” with paid monitoring or upsells. They can be fine, but you want to be sure you are seeing the full report details.
- Save copies as PDFs or print them. You want a “before” snapshot.
Pro tip: When you find an error, highlight the exact line item and note the bureau, account name, partial account number, and the specific field that’s wrong. “This account is wrong” is vague. “Account ABC Collections shows balance $1,240, but my paid-in-full receipt shows $0 as of April 12, 2026” is dispute-ready.

Step 2: Name the exact error
Credit reports are basically big data files. Your job is to point to the precise entry that’s wrong and tell them exactly what needs to change.
Use specific reasons
- Not my account
- Account paid, but showing unpaid
- Balance is incorrect
- Late payment reported incorrectly
- Duplicate account
- Incorrect dates
Keep it narrow. If you stack five arguments into one dispute, you increase the chance someone checks one field, marks it “verified,” and moves on.
Step 3: Gather proof
Think like a reviewer who has never met you and has limited time. Your evidence should be clean and obvious.
Strong documents
- Government ID (driver’s license or state ID)
- Proof of address (utility bill, bank statement, lease page showing your address)
- Account statements showing payment history or correct balance
- Paid-in-full letter or settlement letter
- Cancellation or return confirmation for disputed charges
- Police report or FTC Identity Theft Report if it’s fraud-related
- Letter from the creditor acknowledging an error
What not to send
- Original documents (send copies)
- Unrelated pages (do not dump a 40-page statement when one page proves the point)
- Emotional explanations without evidence (keep it factual)
Quick formatting win: Write your name and the account reference (like the last 4 digits) on each page you send, and circle the relevant line item. Make it hard to miss.
Step 4: Protect your info
Disputes require identifying details, but you do not need to hand over your whole financial life.
Redact smart
- Avoid sharing your full Social Security number unless it is explicitly required to match your file. Use only the last 4 digits when permitted.
- Do not send full account numbers unless a bureau specifically requires it. Most of the time, the report already shows enough to match the tradeline.
- Black out unrelated transactions on bank statements. Leave your name, date, and the line items that support your claim.
- Keep documents readable. Over-redacting can make your proof look suspicious or unusable.
You can still include a clear copy of your ID and proof of address. Just keep it tight and relevant.
Step 5: Pick your method
You typically have three options: online, mail, or phone. I strongly prefer online or mail because you can create a paper trail.
Online disputes
- Pros: fastest, easy uploads, status tracking
- Cons: limited space to explain, sometimes fewer attachment options depending on the portal
Mail disputes
- Pros: strong documentation trail, you control the narrative, you can include a detailed letter
- Cons: slower, more effort
If you dispute by mail, include identifying information (full name, date of birth, current address), plus a copy of your ID and proof of address so they can match you to the correct file.
Phone disputes
- Pros: quick to initiate
- Cons: weak paper trail unless you take excellent notes and follow up in writing
If the issue is complex, involves identity theft, or needs a clear explanation, mail is usually your friend.
Step 6: Write a dispute letter
Keep it short, factual, and anchored to your evidence. Your goal is to make it easy for a stranger to see the mismatch and fix it.
Include these basics
- Your full name, date of birth, and current address
- The bureau report details (company name and partial account number as shown on your report)
- The exact information that’s inaccurate
- What you want done (delete, correct balance, update status, remove a late mark)
- A list of attachments
Example dispute letter
To whom it may concern,
I am writing to dispute inaccurate information on my credit report. The item below is being reported incorrectly, and I am requesting an investigation and correction.
Company: ABC Collections
Account reference: Ending 1234 (as listed on my TransUnion credit report)
Issue: The account is reporting a balance of $1,240 and a status of “unpaid.”
What is correct: This account was paid in full on April 12, 2026, and the balance should be $0 with a paid status.
Requested correction: Please update the balance to $0 and update the status to paid, or delete the tradeline if it cannot be verified as accurate.
Enclosed are copies of documents supporting my dispute: a paid-in-full letter from ABC Collections dated April 12, 2026, and a payment confirmation showing the amount and date.
Sincerely,
Jordan Taylor
Keep your tone calm. You are building credibility, not venting.
Step 7: Submit to each bureau
You can dispute separately with each bureau where the error appears. If it’s showing on all three, you will file three disputes.
What happens behind the scenes is simple: the bureau reviews your dispute, contacts the company that furnished the data, and then updates your file based on what can be verified and corrected.
Experian tips
- Be precise about which field is wrong (status, balance, late date).
- If uploading documents, label files clearly (for example, “PaidLetter_ABCCollections.pdf”).
Equifax tips
- Double-check identifiers. Mixed files often show up with old addresses or name variations.
- If you are correcting personal info, include proof (ID plus a utility bill).
TransUnion tips
- If the item involves a collection, include the collection notice and any payment confirmation.
- For identity theft claims, include your identity theft report and request blocking where applicable.
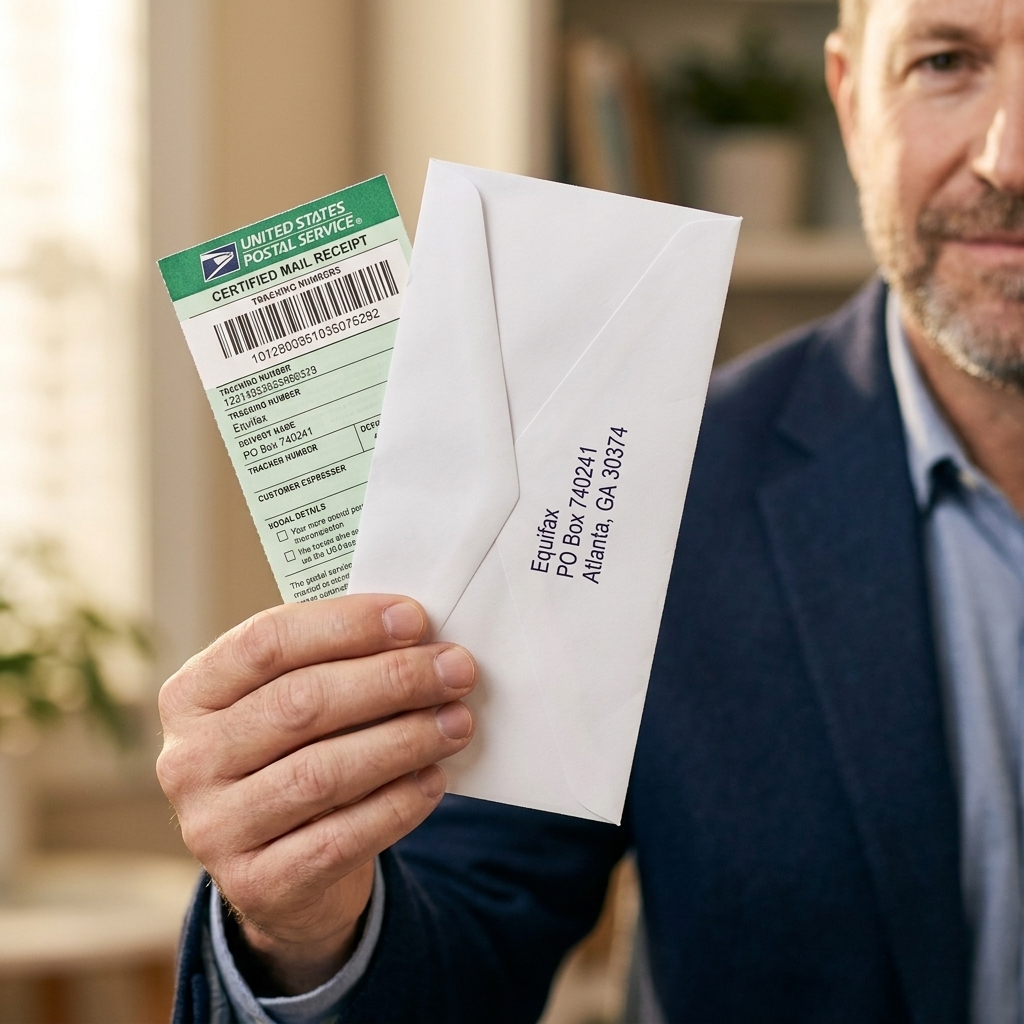
Mail option: If disputing by mail, use certified mail with return receipt so you have proof of delivery.
Step 8: Track dates
Once a bureau receives your dispute, there is a legal clock behind the scenes. Under the Fair Credit Reporting Act, disputes are generally completed within 30 days of the bureau receiving your dispute. In certain situations, that timeline can be extended by up to 15 additional days (total 45 days), commonly when you submit additional relevant information after the dispute is received. After the investigation is finished, the bureau must send you the results.
One more practical reality: a bureau can decide a dispute is frivolous or irrelevant and decline to investigate. They generally must notify you and explain why. This is a common outcome for vague disputes, disputes submitted without enough identifying details, or repeat disputes on the same item without new information.
Keep a simple log
- Date you submitted
- Method (online confirmation or certified mail tracking number)
- Items disputed
- Documents sent
- Date of bureau response
- Outcome (deleted, corrected, verified, or updated)
This sounds boring, but it is how you win round two if you need one.
Step 9: Read the results
When the bureau finishes, you will typically see one of these outcomes:
- Deleted: Best-case result. The item is removed from that bureau’s report.
- Corrected or updated: Also a win. Balance, dates, status, or ownership changed.
- Verified: The bureau says the furnisher confirmed it as accurate.
- Remains: Sometimes the language is different, but the result is the same as verified.
If it was deleted or corrected
- Pull updated copies of your reports and save them.
- Check the other bureaus. A deletion on one does not guarantee deletion on the others.
- Set a reminder to re-check in 30 to 60 days. You want to confirm the update sticks and that nothing else pops up.
If it came back verified
Do not assume you are stuck. It usually means one of two things:
- The item is accurate, or
- Your dispute did not give the system something it could verify
If something is deleted and later reappears, the Fair Credit Reporting Act has rules that require bureaus to provide notice when previously deleted information is reinserted. Save your “before” and “after” copies so you can spot it quickly and respond with receipts.
Step 10: If it is still verified
This is where most people give up, and honestly, it is also where the best outcomes happen for people who stay organized.
1) Dispute with the furnisher
The furnisher is the creditor or collector reporting the information. Send them a written dispute with the same evidence. Include the account identifier they recognize (full account number if you have it, or the reference number from their statements), a clear description of the exact field that’s wrong, and a direct request that they correct their reporting with all bureaus they report to.
Where to send it: look for the address the company lists for “billing inquiries,” “disputes,” or “credit reporting disputes.” For credit cards and some loans, that can be different from the payment address and different from the general customer service address.
In real life, this step is useful even before you dispute with the bureaus if you already know who is reporting the error and you have clean proof. Going to the source can be faster.
2) Request the method of verification
If you disputed with a bureau and it came back verified, you can request the bureau’s method of verification. Set expectations: the response can be brief and procedural, but it can still help you spot whether the bureau relied on the wrong account match, the wrong dates, or an outdated record.
3) Add a consumer statement (last resort)
You can add a short statement to your file, but it rarely helps your score and many lenders ignore it. Use this only if the account is accurate but needs context.
4) Escalate when it makes sense
If you have strong documentation and the reporting is still wrong, escalate through formal complaint channels. Examples include the Consumer Financial Protection Bureau (CFPB), your state attorney general, or your state consumer protection agency. If the damage is serious and you have a clear paper trail, it may also be worth speaking with a consumer law attorney who handles credit reporting cases. Keep the story factual and attach the receipts.
Special cases
Identity theft
If fraud is involved, treat it differently than a normal dispute. Gather your identity theft documentation and focus on blocking the items and securing your accounts. Also consider freezing your credit files to stop new accounts from being opened in your name. A freeze is placed separately with each bureau. A fraud alert is another tool that can add friction for new credit, but it is not the same thing as a freeze.
If new-account fraud is involved, it can also be smart to freeze key specialty consumer reporting agencies that are commonly used for identity verification and account screening, not just the big three.
Medical collections
Medical reporting rules have changed materially in recent years, so do not rely on outdated advice. Here is the practical, as-of-2026 approach for most consumers, based on nationwide bureau policy (not statute) and subject to change:
- Paid medical collections are generally removed from consumer credit reports.
- There is typically a 12-month waiting period before certain unpaid medical collections can be reported, giving insurance and billing time to resolve.
- Some small-balance medical collections (commonly cited as under $500) may be excluded from reporting.
What to do with a medical collection in real life: confirm the debt is actually yours, confirm the balance and dates are accurate, and check whether it should be reporting at all under current bureau policy. Dispute factual errors, and push the provider and collector to validate the amount and timing. If you recently paid it, keep proof and verify that all three bureaus update. Because policies can change, check each bureau’s current medical collections policy page before you submit your dispute.
Student loans
Student loan servicers can report confusing statuses during deferment, forbearance, or repayment plan changes. If a late payment was reported during a period you were officially covered, documentation from the servicer is the key.
Re-aged collections
If a negative item looks like it “restarted” and got newer, check the date of first delinquency. That date drives how long many negatives can stay on your report. If it is wrong, dispute that specific date with evidence.
Dispute mistakes to avoid
- Disputing everything at once without evidence. It can slow the process and reduce credibility.
- Submitting a vague dispute like “this is not accurate” with no explanation.
- Using credit repair legalese that does not identify the exact error.
- Ignoring the furnisher when the bureau keeps verifying. Go to the source.
- Not checking all three reports. Fixing one bureau is not the same as fixing your credit profile.
- Oversharing sensitive data. Send what proves the point, and redact what does not.
FAQ
How long do disputes take?
Many disputes wrap up in a few weeks, but under the Fair Credit Reporting Act investigations are generally completed within 30 days of the bureau receiving your dispute. In certain situations, that timeline can be extended by up to 15 additional days (total 45 days), commonly when you submit additional relevant information after the dispute is received. After completion, the bureau must send you the results.
Will disputing hurt my credit score?
Filing a dispute itself does not directly lower your score. Your score can move after a dispute if the underlying data changes, for better or worse.
Online or mail?
Online is faster for simple, straightforward errors with clear documents. Mail is often better for complicated situations, identity theft, or when you want a rock-solid paper trail.
What if the same error is on all three reports?
Dispute with each bureau. Also consider disputing directly with the furnisher so the source data gets corrected across the board.
Next steps
If you take nothing else from this guide, take this: specificity plus documentation wins. Pull all three reports, circle the exact field that’s wrong, attach proof that a stranger can understand fast, and keep a clean paper trail.
Mini-checklist for the week after your results come in:
- Save the investigation results letter or confirmation page
- Pull updated reports from all three bureaus
- Confirm the exact field changed (balance, status, dates)
- If one bureau updated and another did not, dispute with the one that did not
- Set a reminder to check again in 30 to 60 days
You do not need to be perfect. You just need to be organized enough to make the math line up with the truth.